DESERT SOJOURN 2025
QUARTZSITE - YUMA - ALGODONES - BISBEE - TOMBSTONE - ALAMOGORDO - ROSWELL - SILVER CITY - GILA WILDERNESS - HAVASU CITY - BULLHEAD CITY - LAUGHLIN - TECOPA


Getting the Honda Trail dirty in the KOFA Nat'l Wildlife Refuge


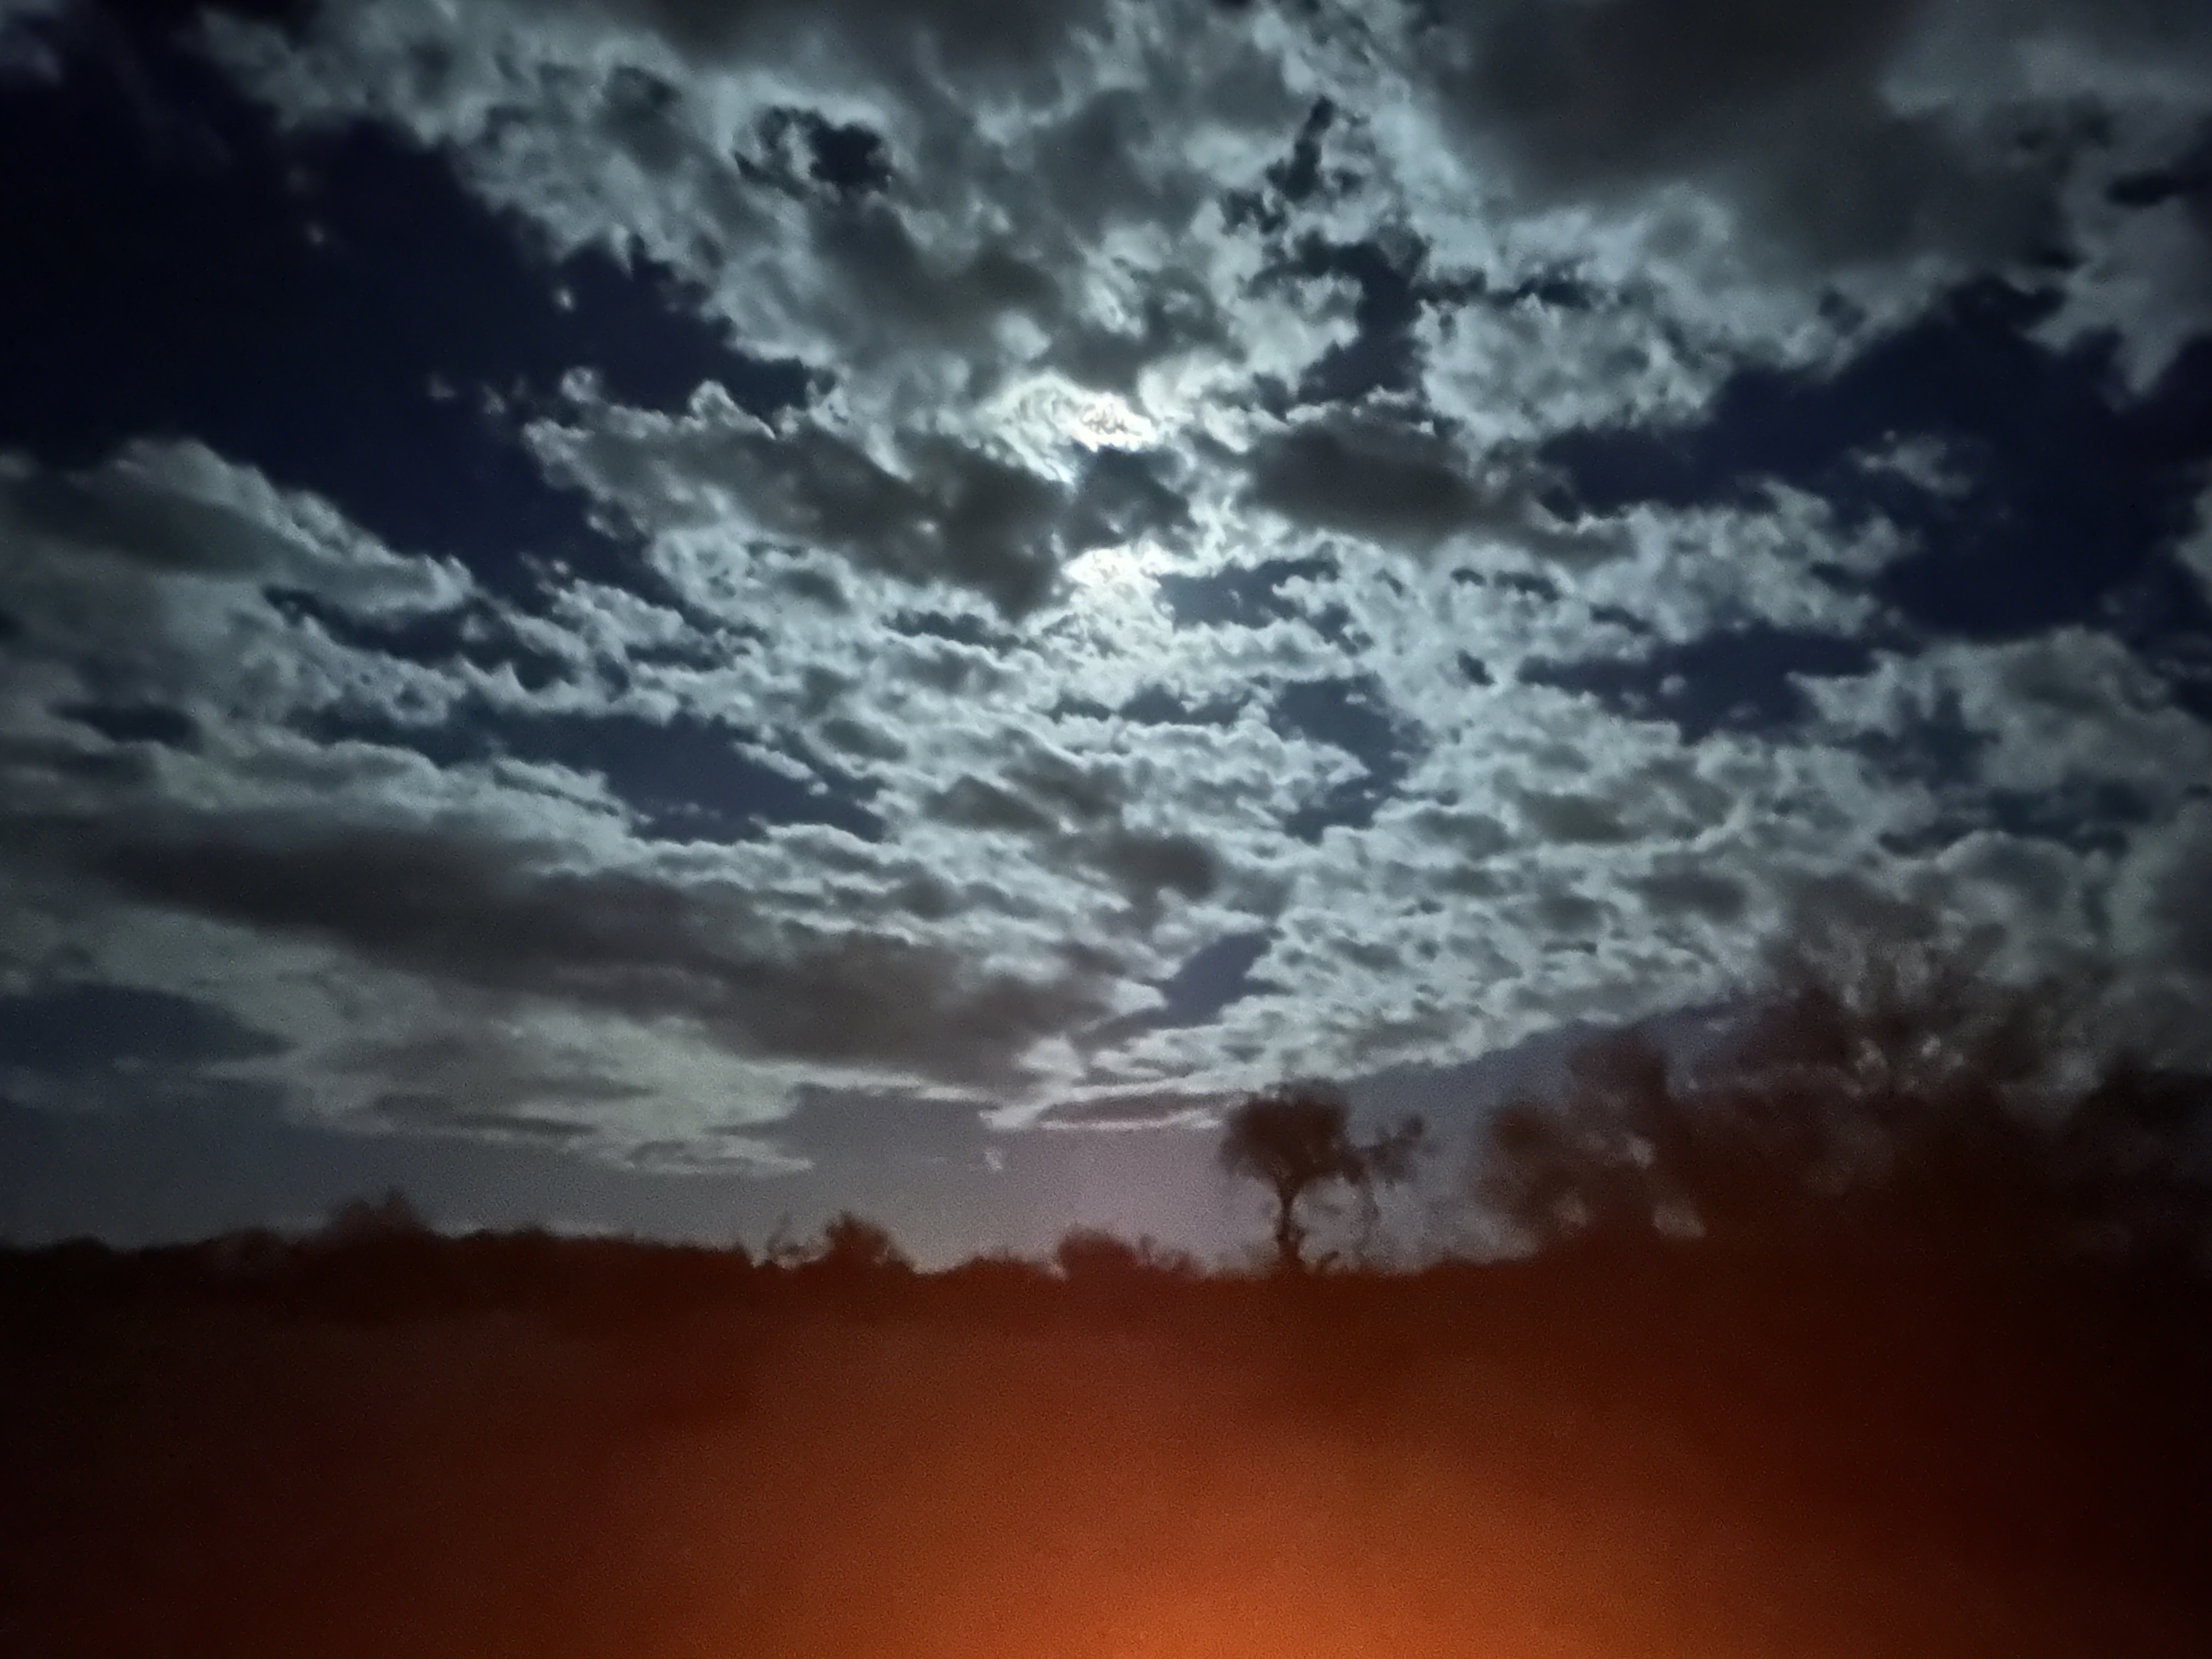
Campfire glow under a cloudy full moon
THE DESERT BAR


At Beer Belly's Parked at the laundromat in Quartzsite


Another Algodones massage for Curt

At Death Valley Brewing, Tecopa, CA

Some wild, free hot springs near Tecopa, CA
BEAUTIFUL BISBEE, AZ

I camped in a back lot of the Jonquil Motel. The owners, Sterling and Eva, are world class motorcycle adventure travelers and I follow their channel on YouTube. It was nice to meet them both and stay at their quaint motel.


They're not kidding! This IS the nicest porta potty I've ever seen.


HISTORIC DOWNTOWN LOWELL, AZ

The Shady Dell is a motor court where you stay in vintage trailers.


CITY OF ROCKS STATE PARK
Near Silver City, NM


GILA HOT SPRINGS AND CLIFF DWELLINGS
New Mexico

Three very nice hot springs right on the Gila River. All of this plus camping for $12.00/night.

My hot springs camp spot.
GILA CLIFF DWELLINGS NAT'L MONUMENT


So long to the Gila...for now.
SOME NEW MEXICAN EATS

Really good salsa in Deming, NM

As soon as I crossed over the New Mexico state line, I found a place for a nice combo plate.

The Old Road Restaurant in Mescalero, NM

A very respectable combo plate in Silver City, NM

For the man who has everything...

Little Toad Creek Brewery in Silver City, NM

My campsite in Bullhead City...right on the Colorado River.

These are the remains of my first Waffle House experience and what a good one it was. I had a waffle, grits, two eggs, bacon and coffee.

A choice was made here...


We stumbled onto some really cool jet boat drag races in Havasu City. These boats did over 170 miles per hour and they were quite a sight.
Another desert snow birding season came to a close. I did 2 1/2 months this year and I dipped into to New Mexico this time around. I'm sure I'll do this again next winter and I'll try to throw in some new places.
Here are the stats for this trip:
Total Miles Driven: 3,363
Total Gallons Fuel: 250
Total Fuel Cost: $863.00